Integration Guide
This page details how to integrate with the Beam Charges API, which allows you to fully customize the payment experience by creating charges that can be paid through various methods, including cards, QR code payments etc.
This page will take you through the steps to create a charge, handle the different responses of charge creation, and tracking the charge lifecycle. For this scenario, we will use a Postman collection provided in the Sample Postman Collection page to demonstrate the API calls.
Steps to integrate with Charges API
Pre-requisites:
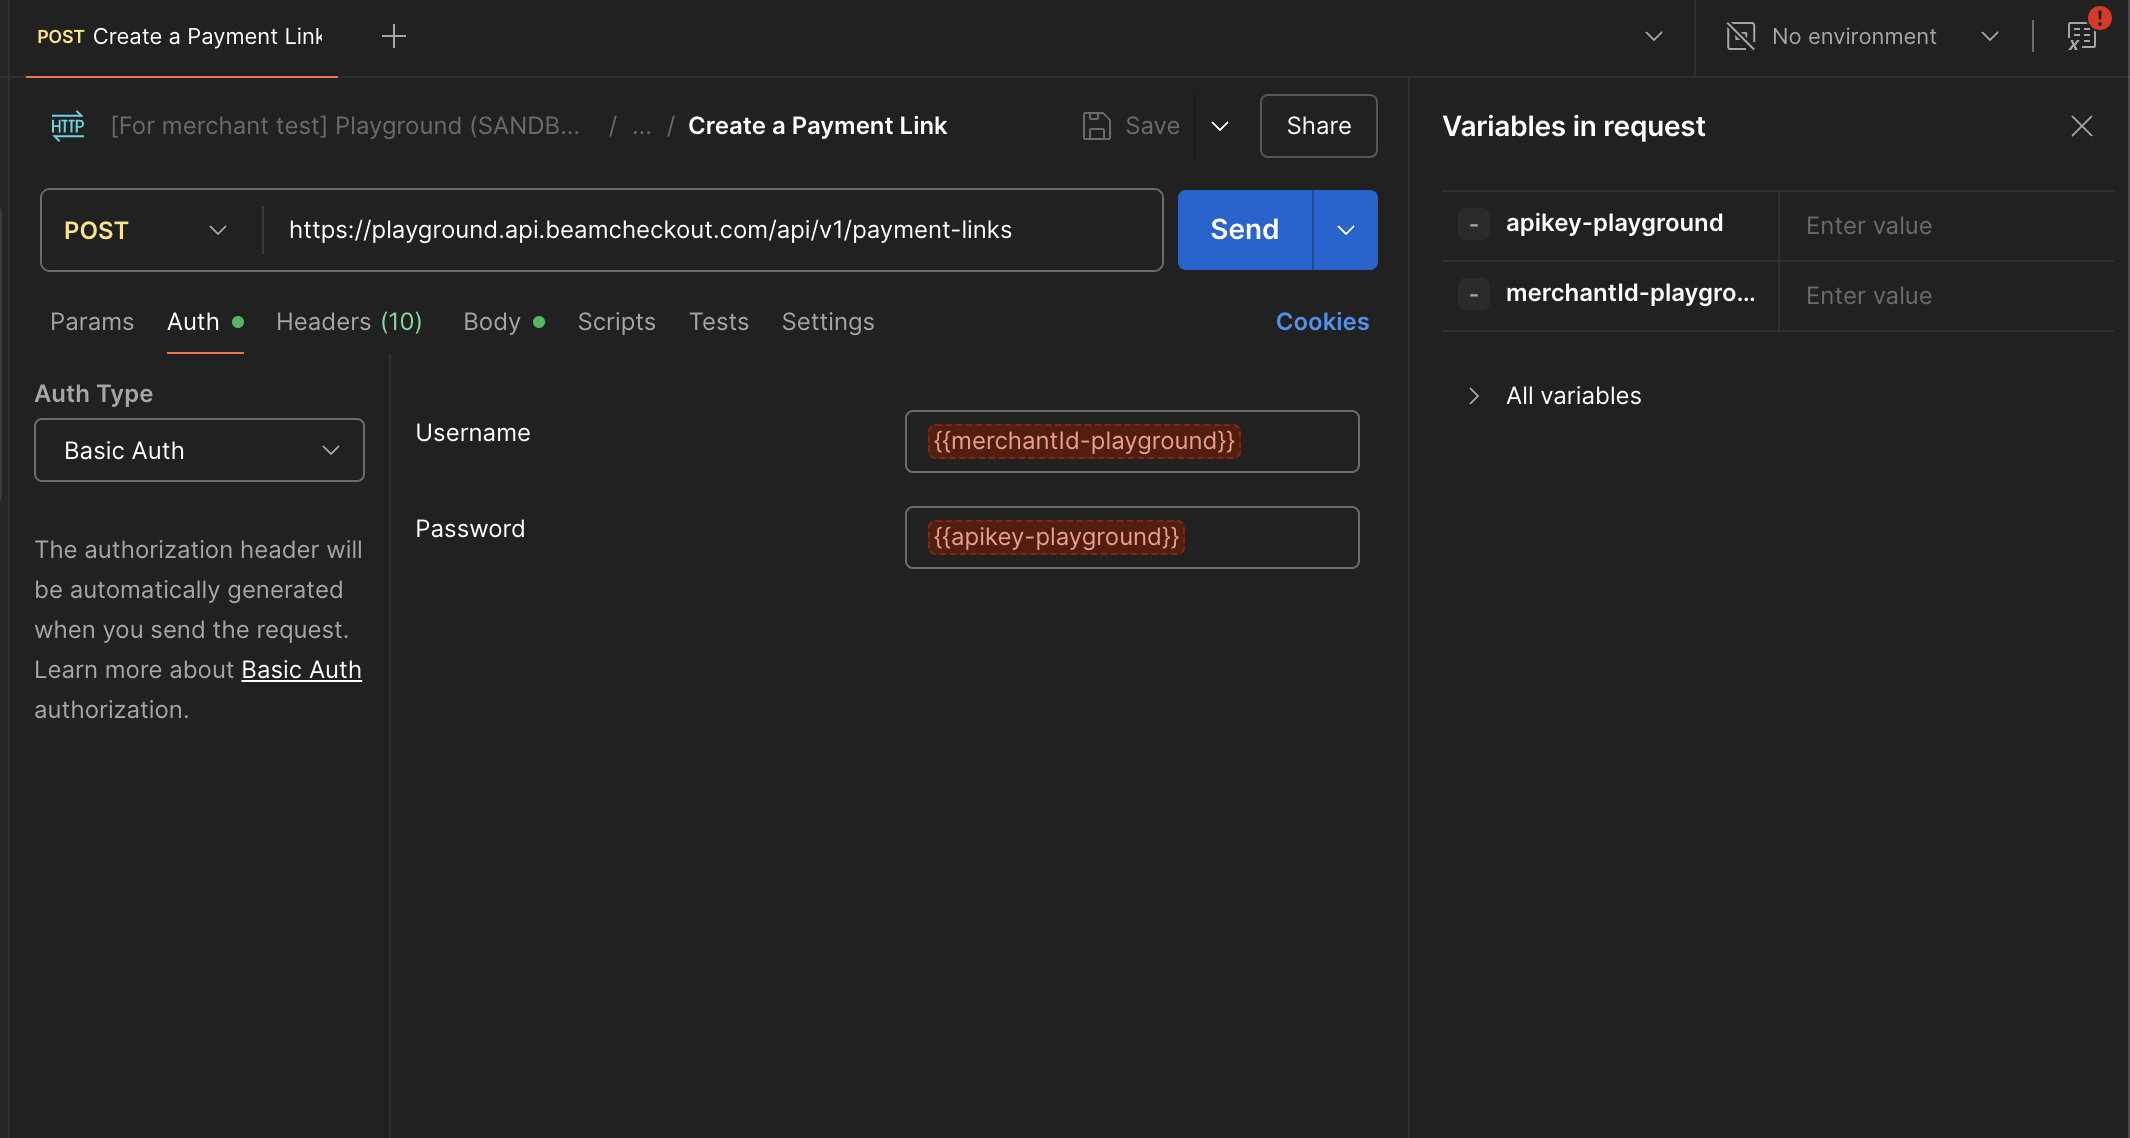
- Set up the environment variables in Postman for the Beam API, which includes Beam Playground's merchant ID and your API key.
- Create a Charge
- When your integration needs to accept payments from customers, you can send a request to create a charge. To create a
charge, send a
POSTrequest to the/api/v1/chargesendpoint with the required parameters. Here is the sample provided request object to create a charge for aCARDpayment method, do note that the amount is in the smallest unit of the currency (e.g., satang for THB):
{
  "amount": 300099,
  "currency": "THB",
  "paymentMethod": {
    "paymentMethodType": "CARD",
    "card": {
      "cardHolderName": "Cardholder Name",
      "expiryMonth": 12,
      "expiryYear": 30,
      "pan": "4111111111111111",
      "securityCode": "123"
    }
  },
  "referenceId": "TestReferenceId",
  "returnUrl": "https://www.beamcheckout.com"
}
- Handle Charge Creation Response
-
Once an API call is made successfully, a charge is created. However, some charges may require additional steps to complete the payment. This is indicated in the
actionRequiredfield of the charge creation response. There are 3 possible values for this field: -NONE: No additional action is required to complete the payment. -REDIRECT: The shopper needs to be redirected to a URL to complete. This is shown in theredirectobject of the response. -ENCODED_IMAGE: The shopper needs to scan a QR code to complete the payment. This is shown in theencodedImageobject of the response.2.1 Handling
REDIRECTAction -
If the
actionRequiredfield isREDIRECT, you need to redirect the shopper to the URL provided in theredirectobject of the response.2.2 Handling
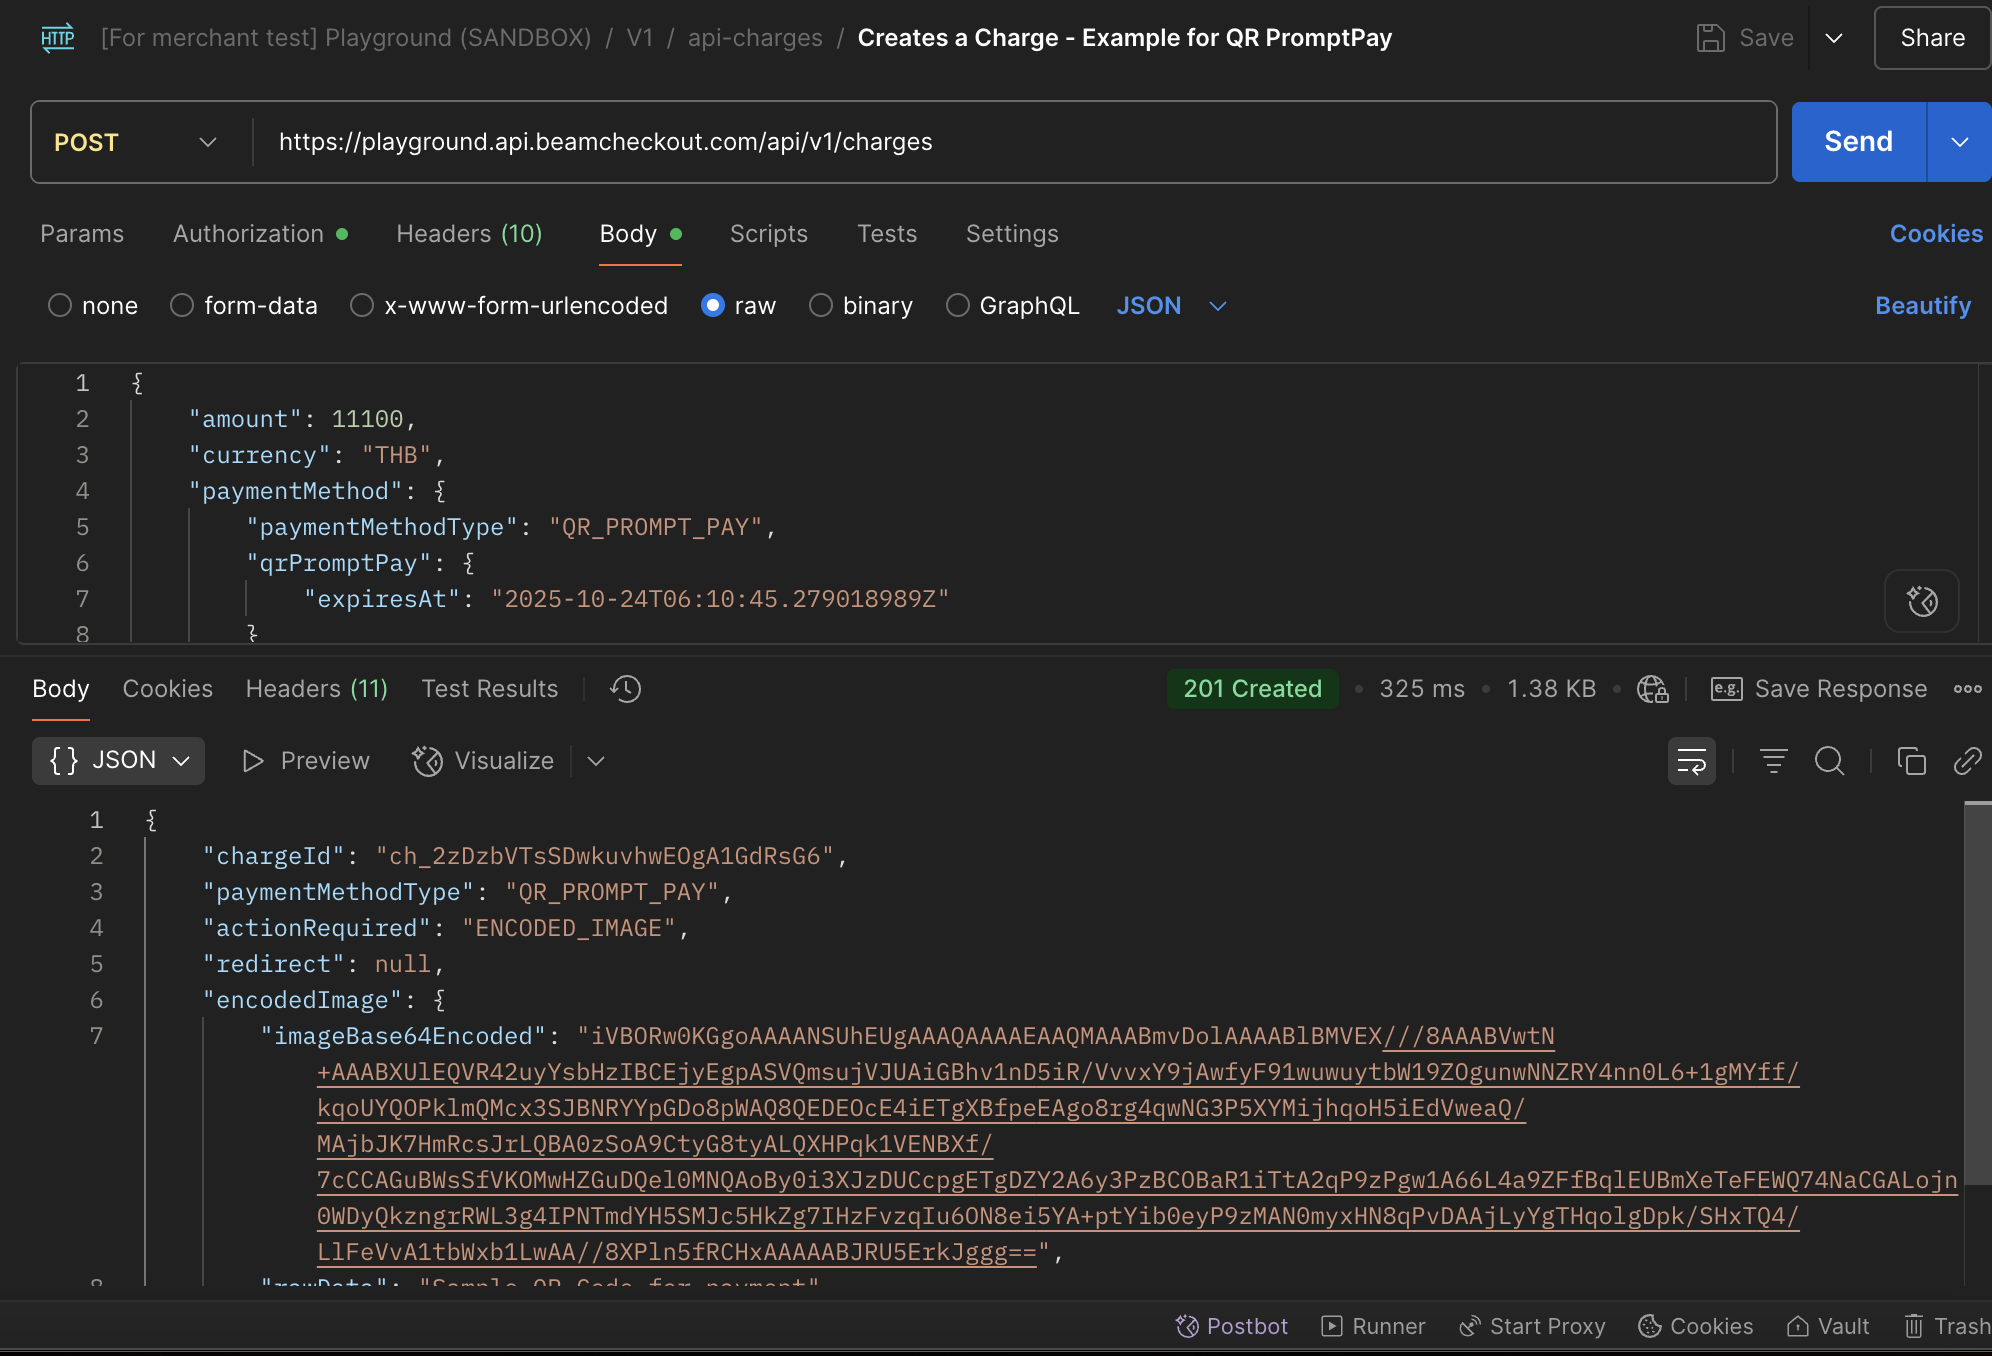
ENCODED_IMAGEAction -
If the
actionRequiredfield isENCODED_IMAGE, you need to display the QR code image to the shopper for them to scan and complete the payment. Here is an example of a charge creation response with an encoded image action:
2.3 Handling NONE Action
- If the
actionRequiredfield isNONE, the charge is successfully created and no further action is required. Do note that this does not mean that the charge has succeeded, only that it is created successfully Here is an example of a charge creation response with no action required: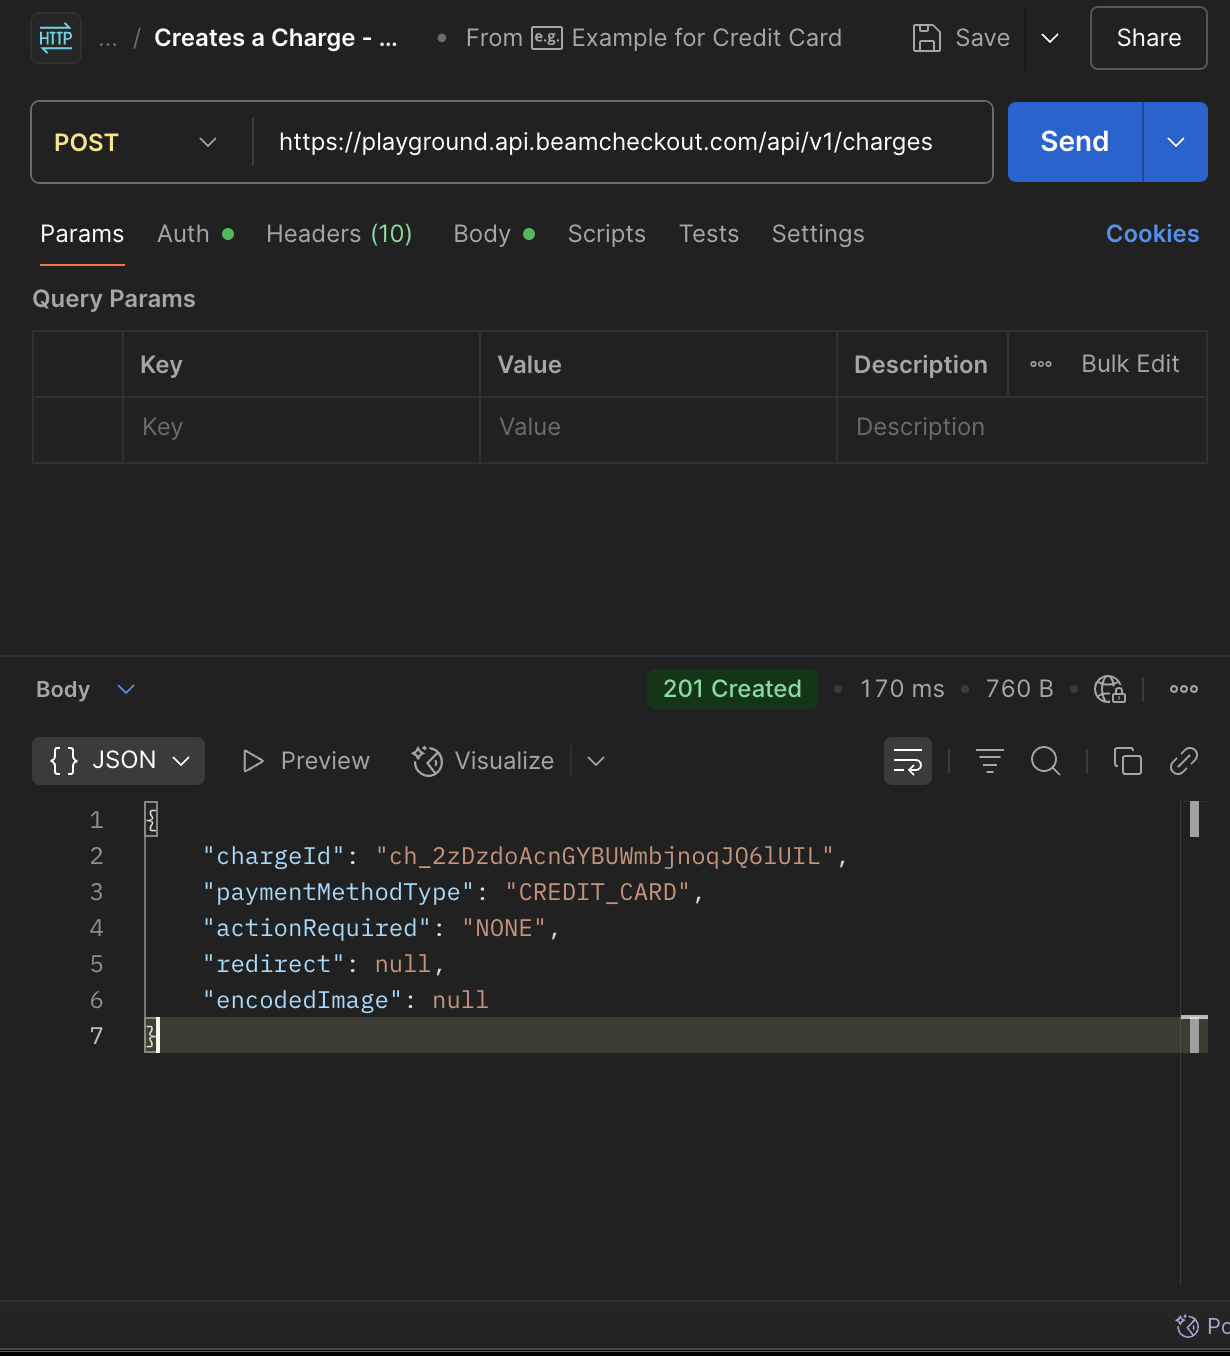
- Track Charge Lifecycle
-
After the charge is created, you can track the charge lifecycle by subscribing to the relevant webhooks. This can be done manually through an API call to the
/api/v1/charges/{chargeId}endpoint to see the current status of the charge.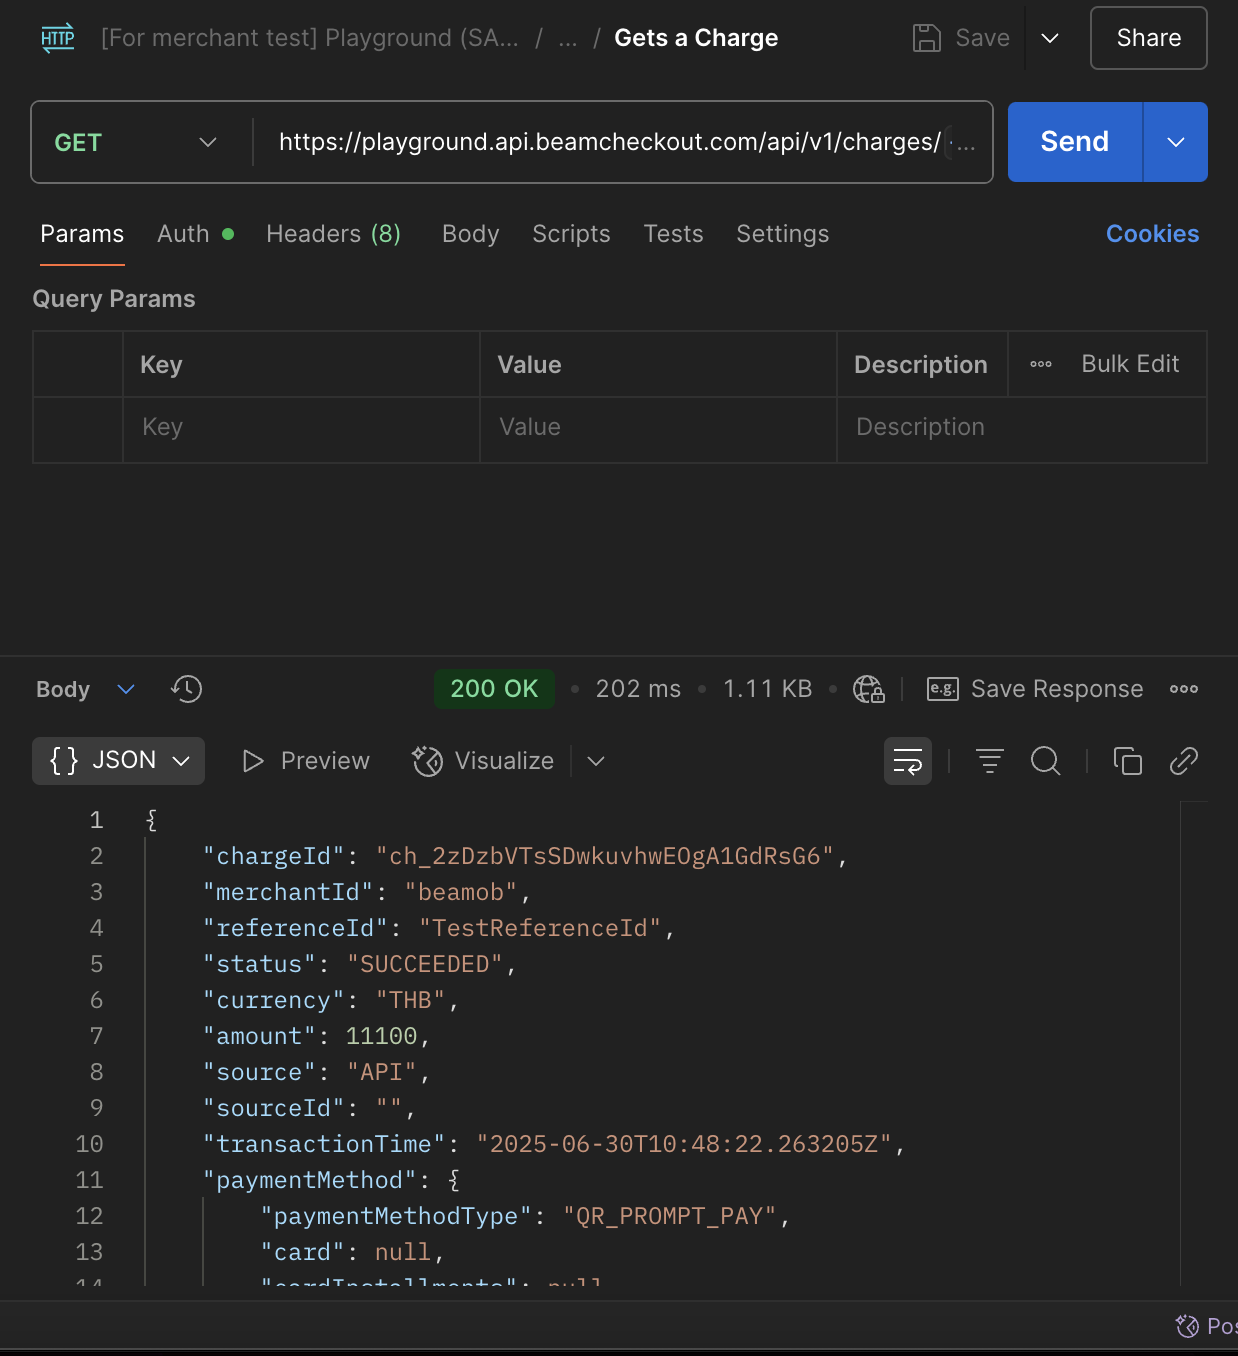
-
However, it is recommended to subscribe to the webhooks to get updates on the charge status. This can be done via the
charge.succeededwebhook, which will notify you when the charge is successfully processed.You can find an example of setting up the webhook in the Playground section of the documentation.