Beam Playground
Playground provides sandbox-like environment which is a convenient way to test the Beam API. It allows you to interact with the API endpoints, view responses, and understand how the API works in an environment made to simulate real use cases.
You can access the Beam playground API endpoint at https://playground.api.beamcheckout.com.
Before you move on to using the Beam production API, we strongly recommend that you test your integration on the Beam Playground first. Specifically, you should be able to do the following on the Beam Playground:
- Generate an API key.
- Create a webhook settings to receive events from Beam.
- Successfully create a payment link.
- Successfully create a charge.
- Successfully receives a webhook event from Beam.
- Successfully refund a charge.
For more details on testing on the Beam Playground, see the Testing section for a more detailed guide on how to test your integration with Beam.
Supported APIs on Playground
- Payment Links API
- Direct Charge API
- Card Tokenization API
- Refunds API
- Transactions API
- Card Authorizations API
Quick guide on how to test on your Beam Playground account.
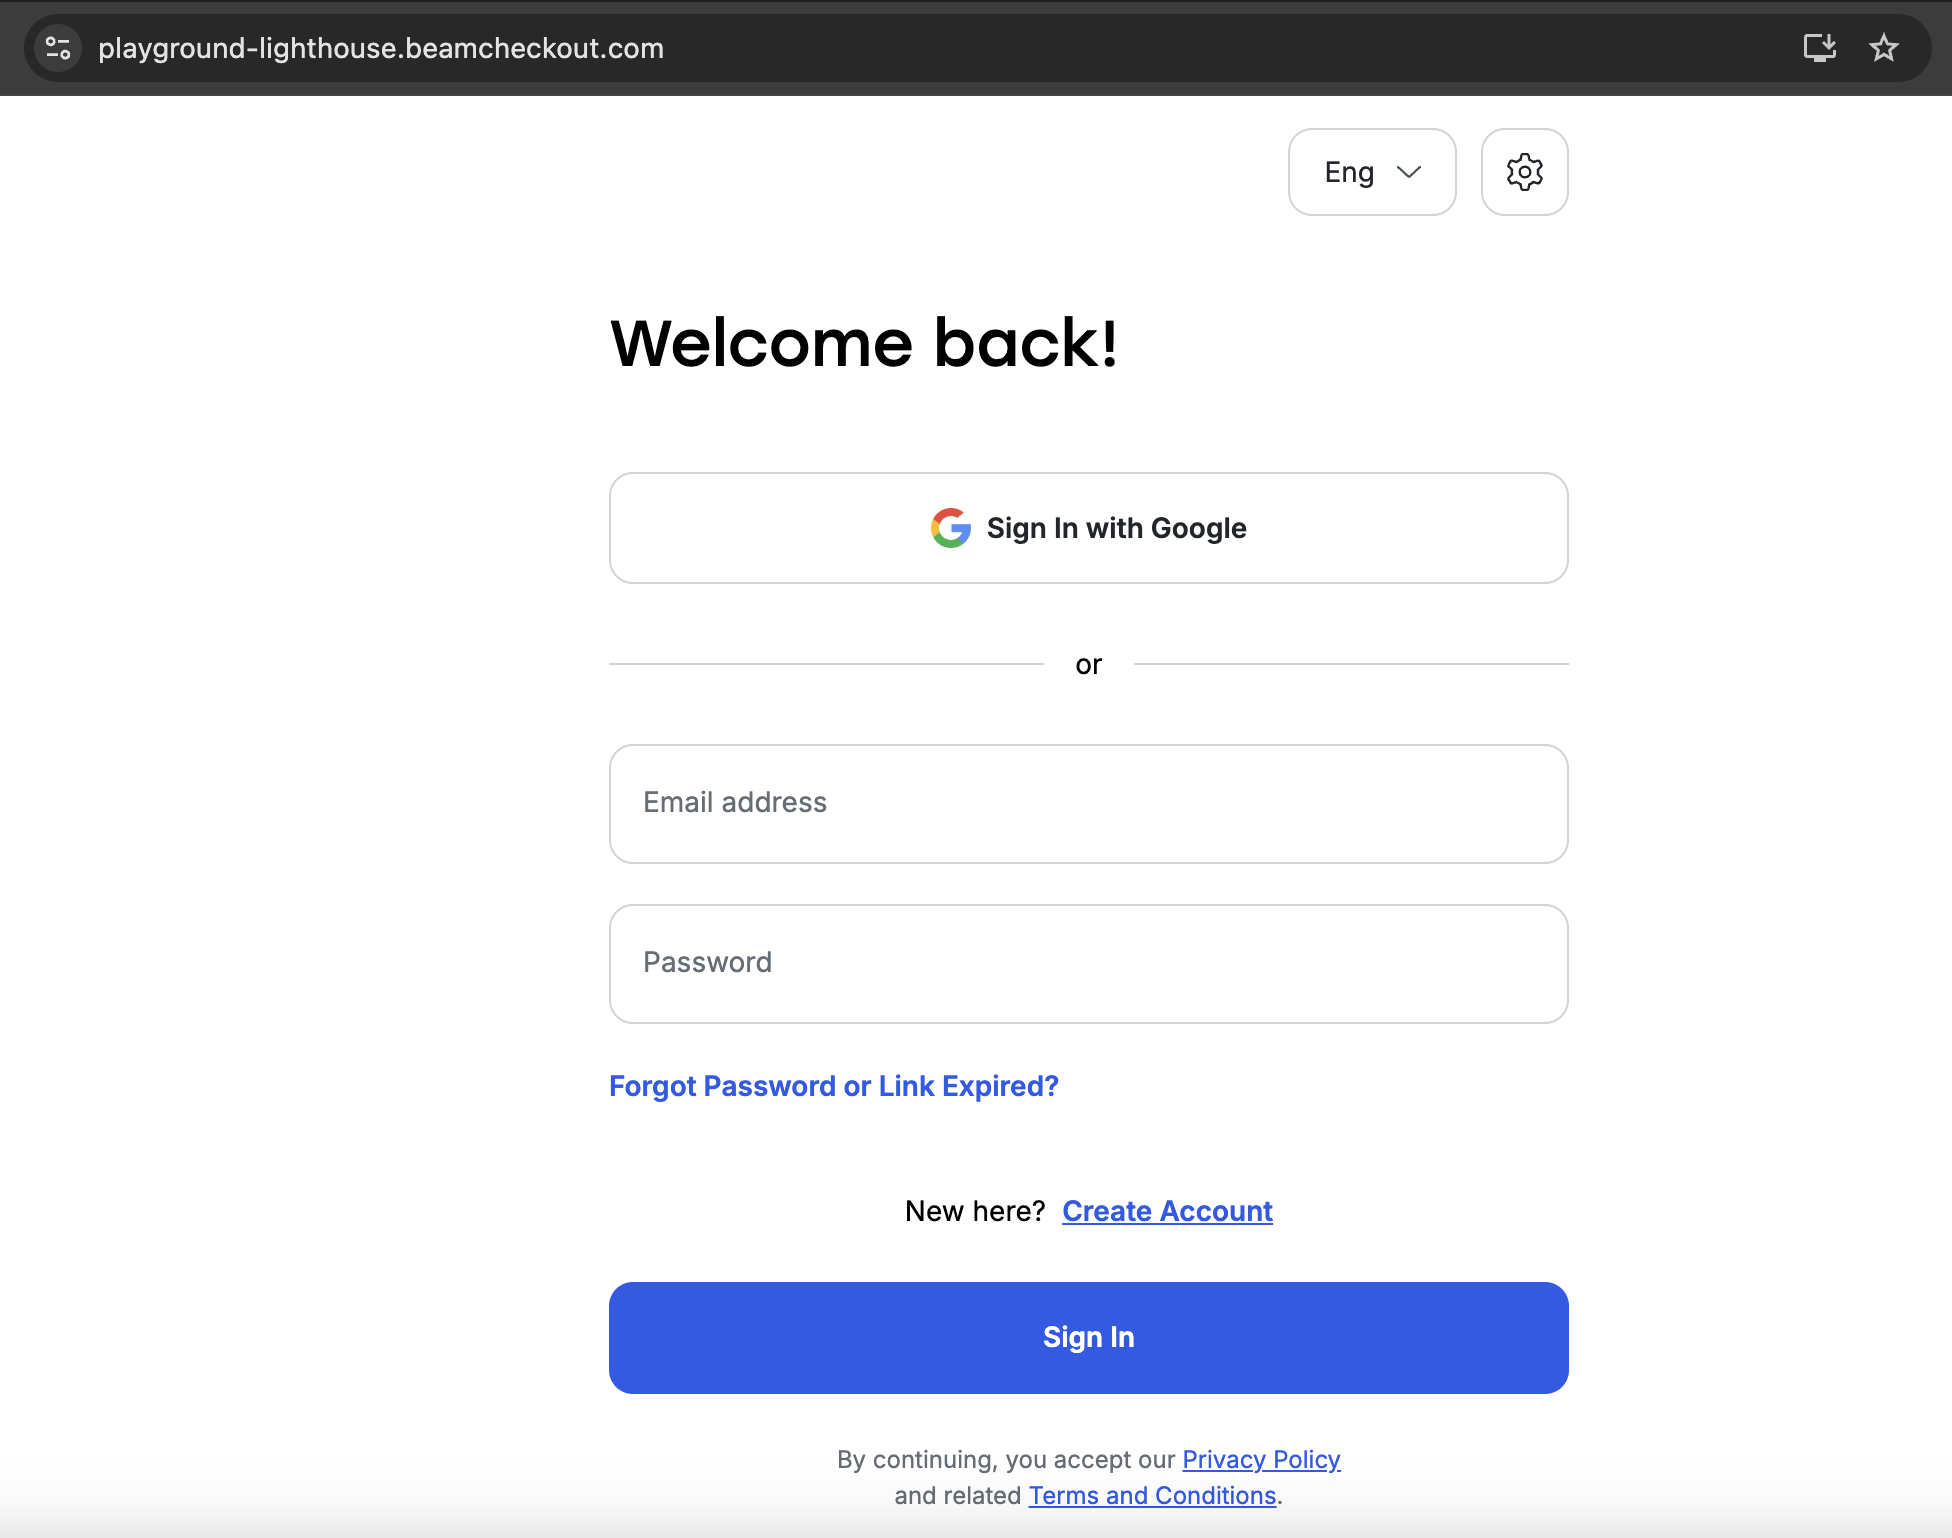
- Go to Beam Playground Lighthouse and log in to your account.
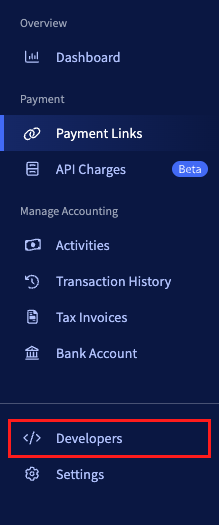
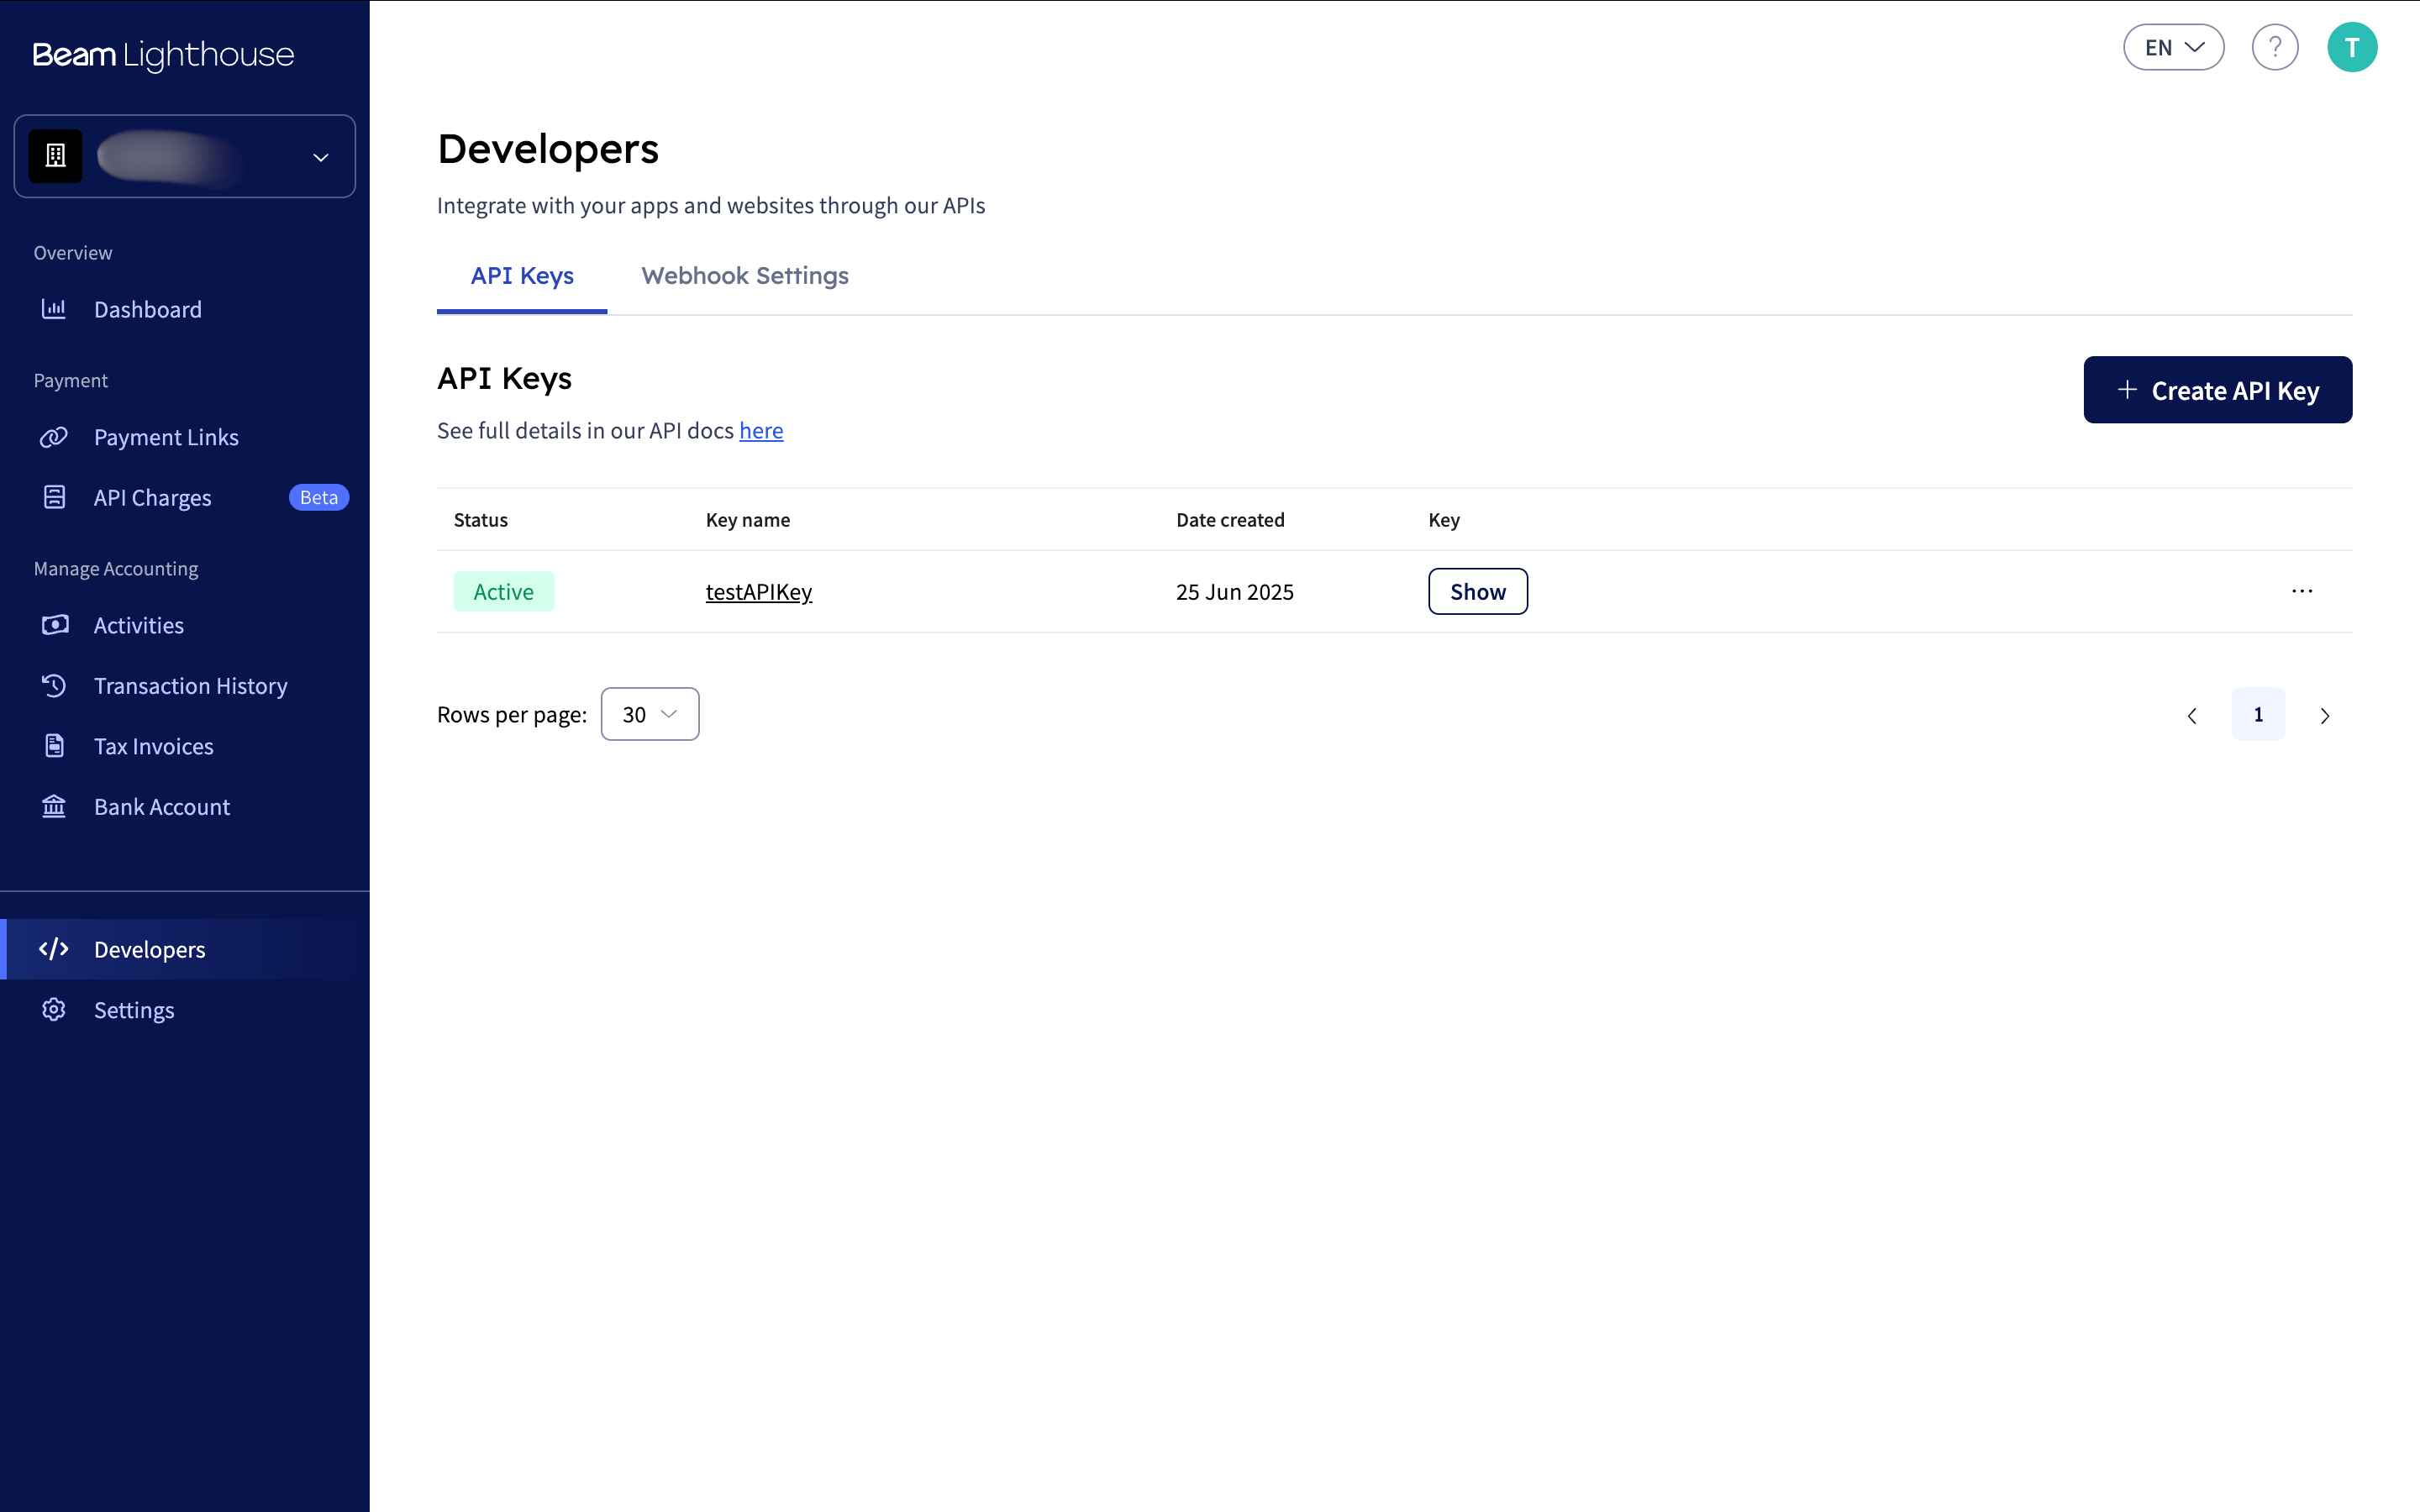
- On the right side of the screen, you will see a sidebar. Click on the Developers section.
-
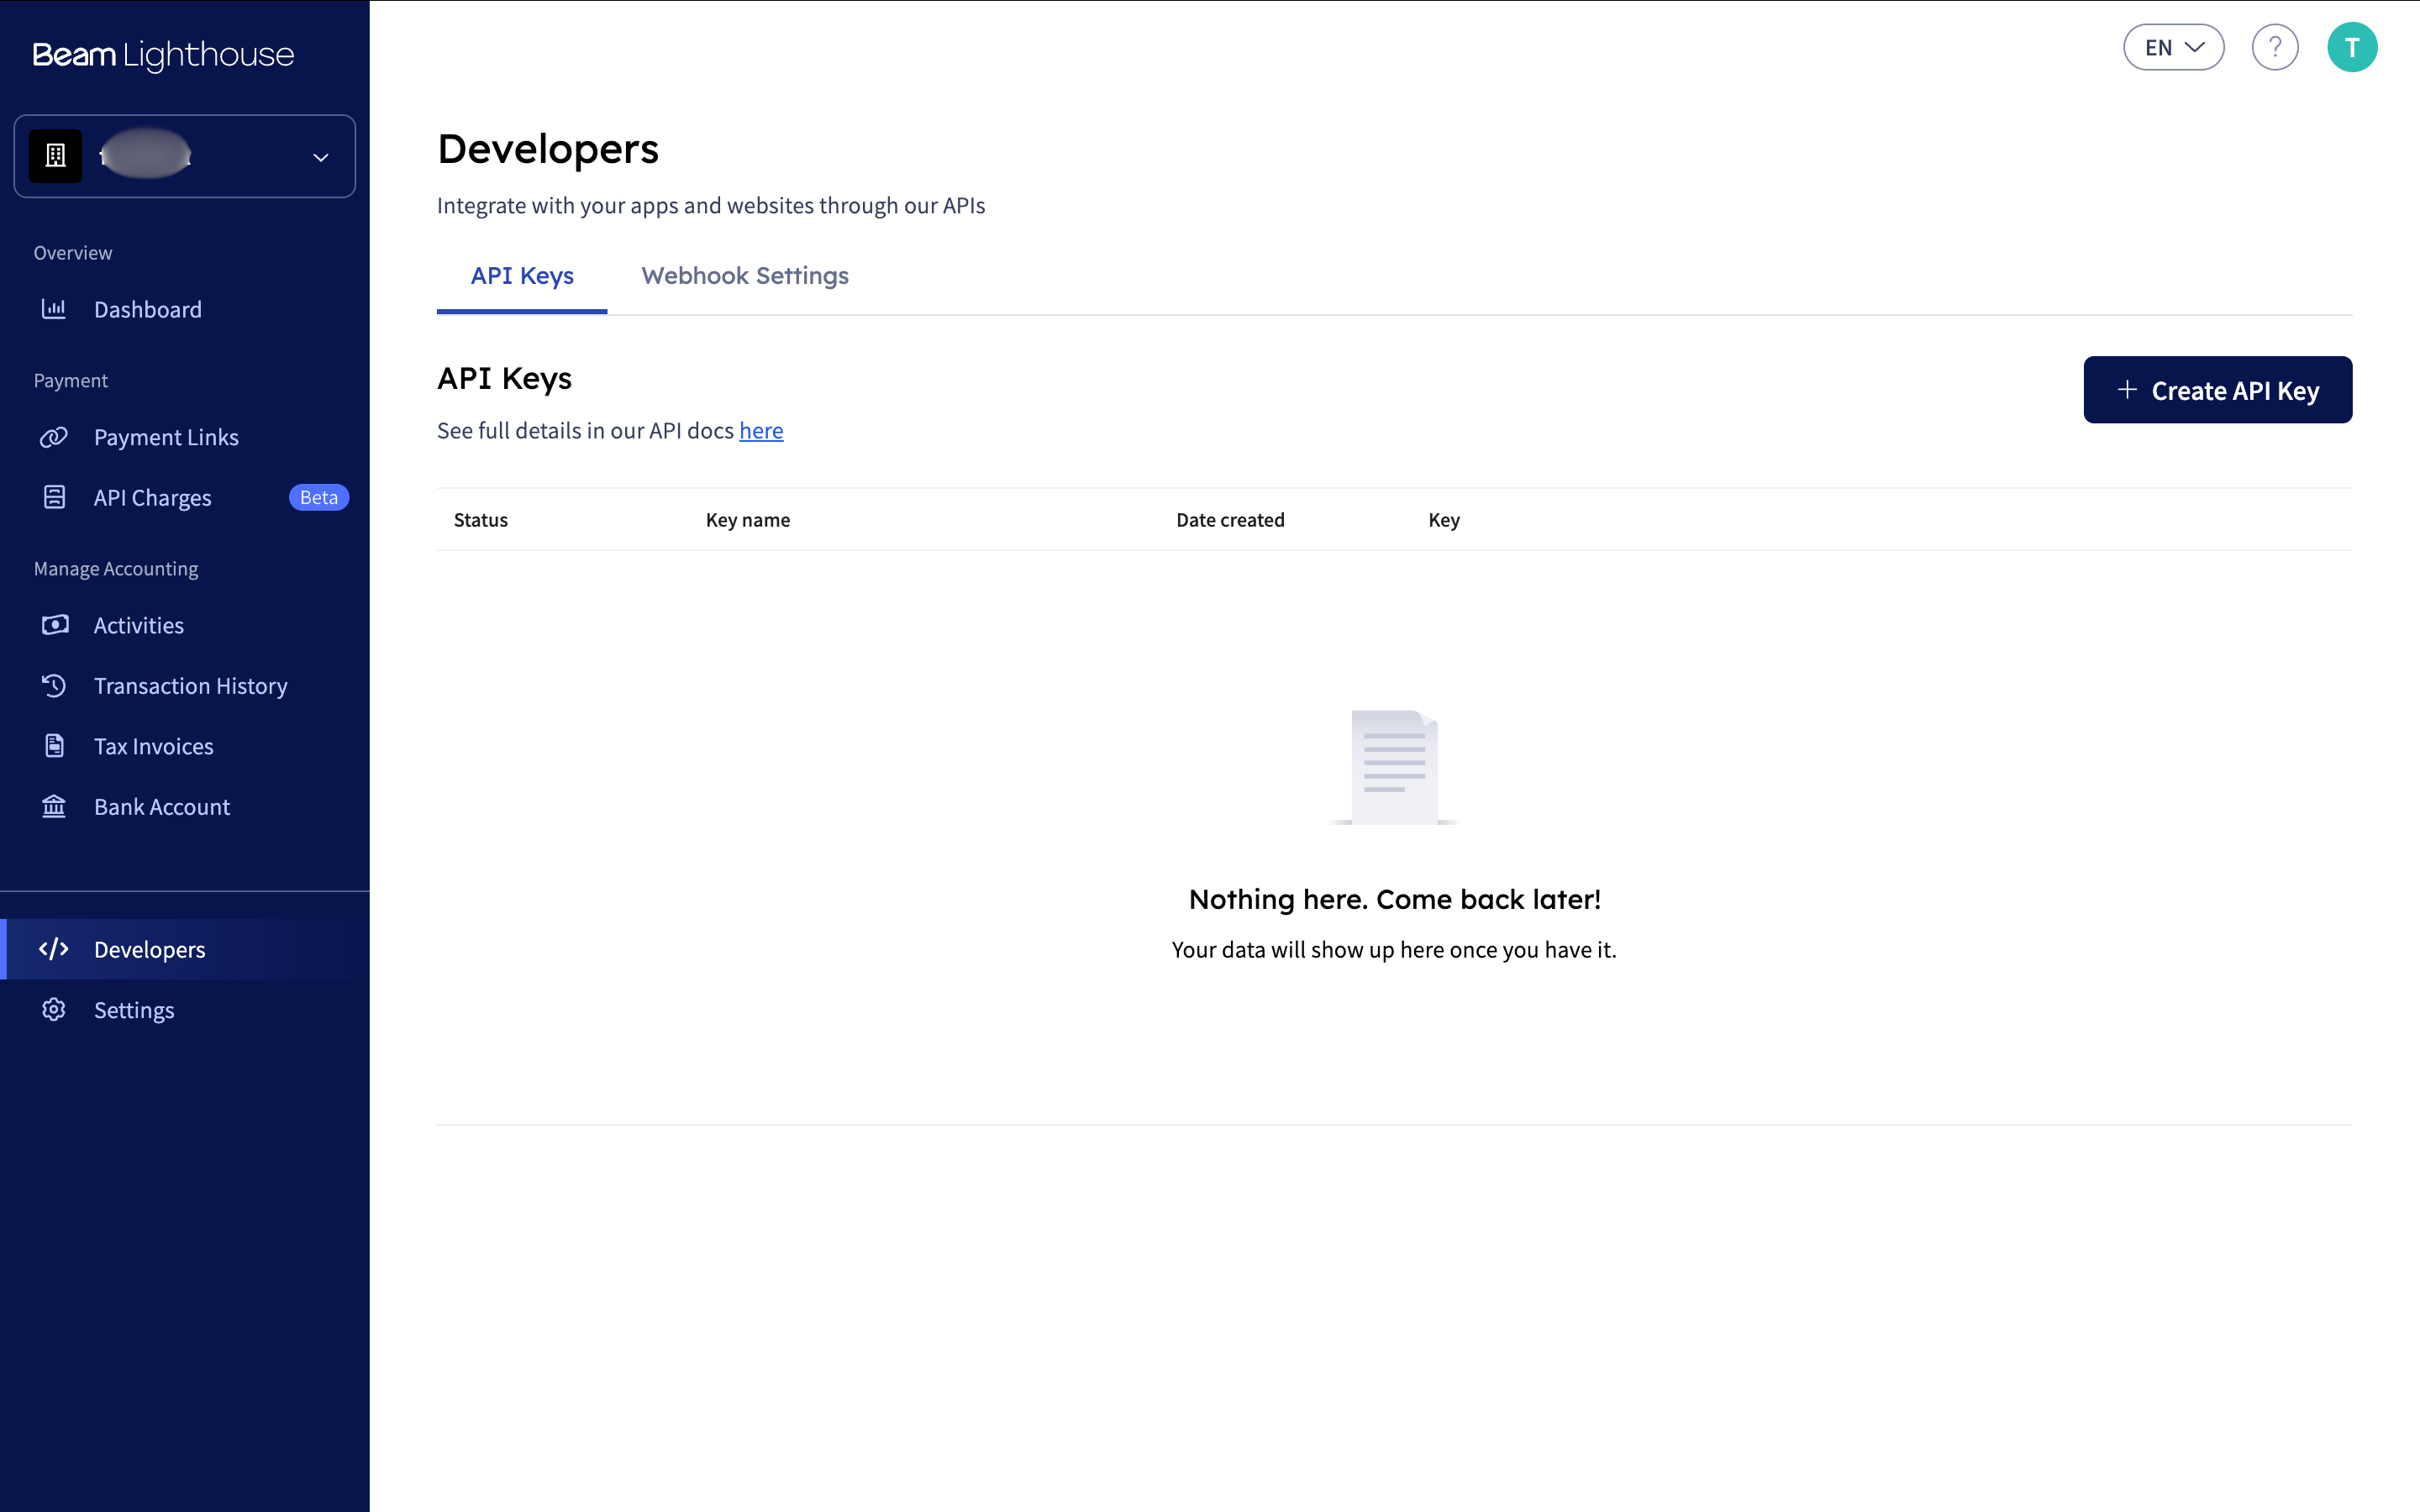
In the Developers page there are two main sections:
- API Key: This is your API key that you will use to authenticate your API requests.
- Webhooks: This is where you can configure your webhooks to receive events from Beam.
-
For now, click on the Create API Key button to generate a new API key. You can add description and name to help you remember what this key is used for.
-
Now that the API key is created, you can click on the Show button to reveal the API key. You can copy this key and use it in your API requests to authenticate them.
CAUTION
Please DO NOT share your secret API keys in any publicly accessible places such as GitHub, GitLab, BitBucket, on your client-side code, and so on.
-
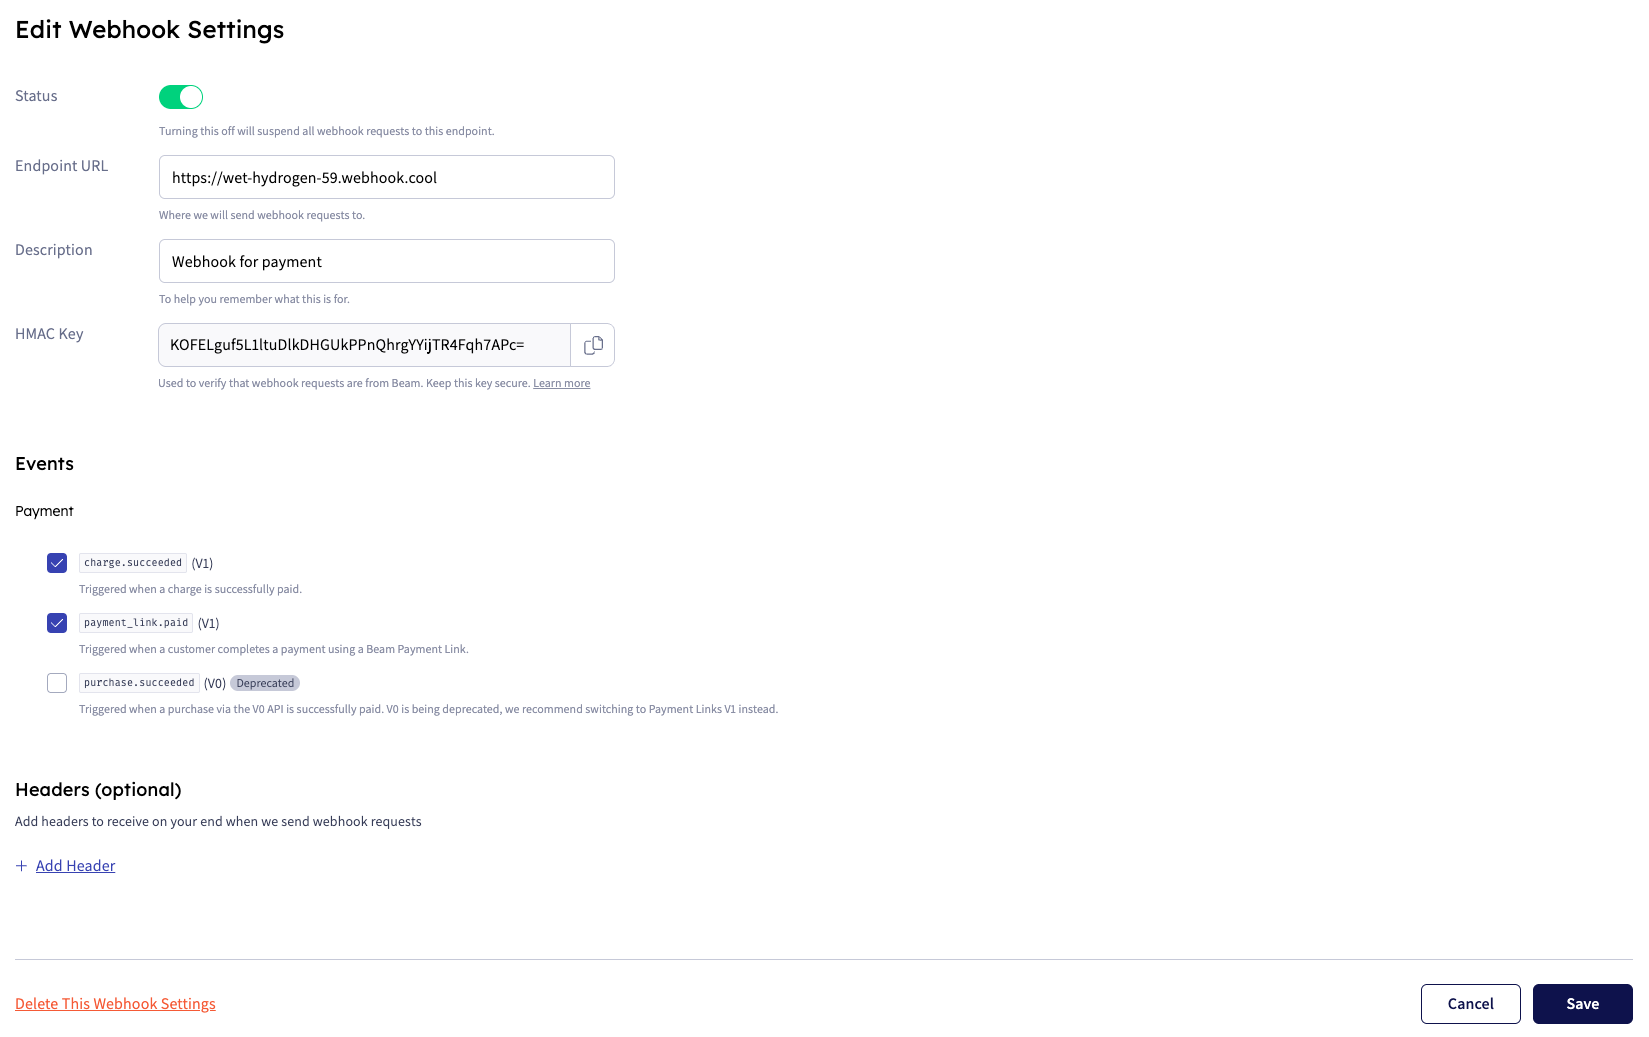
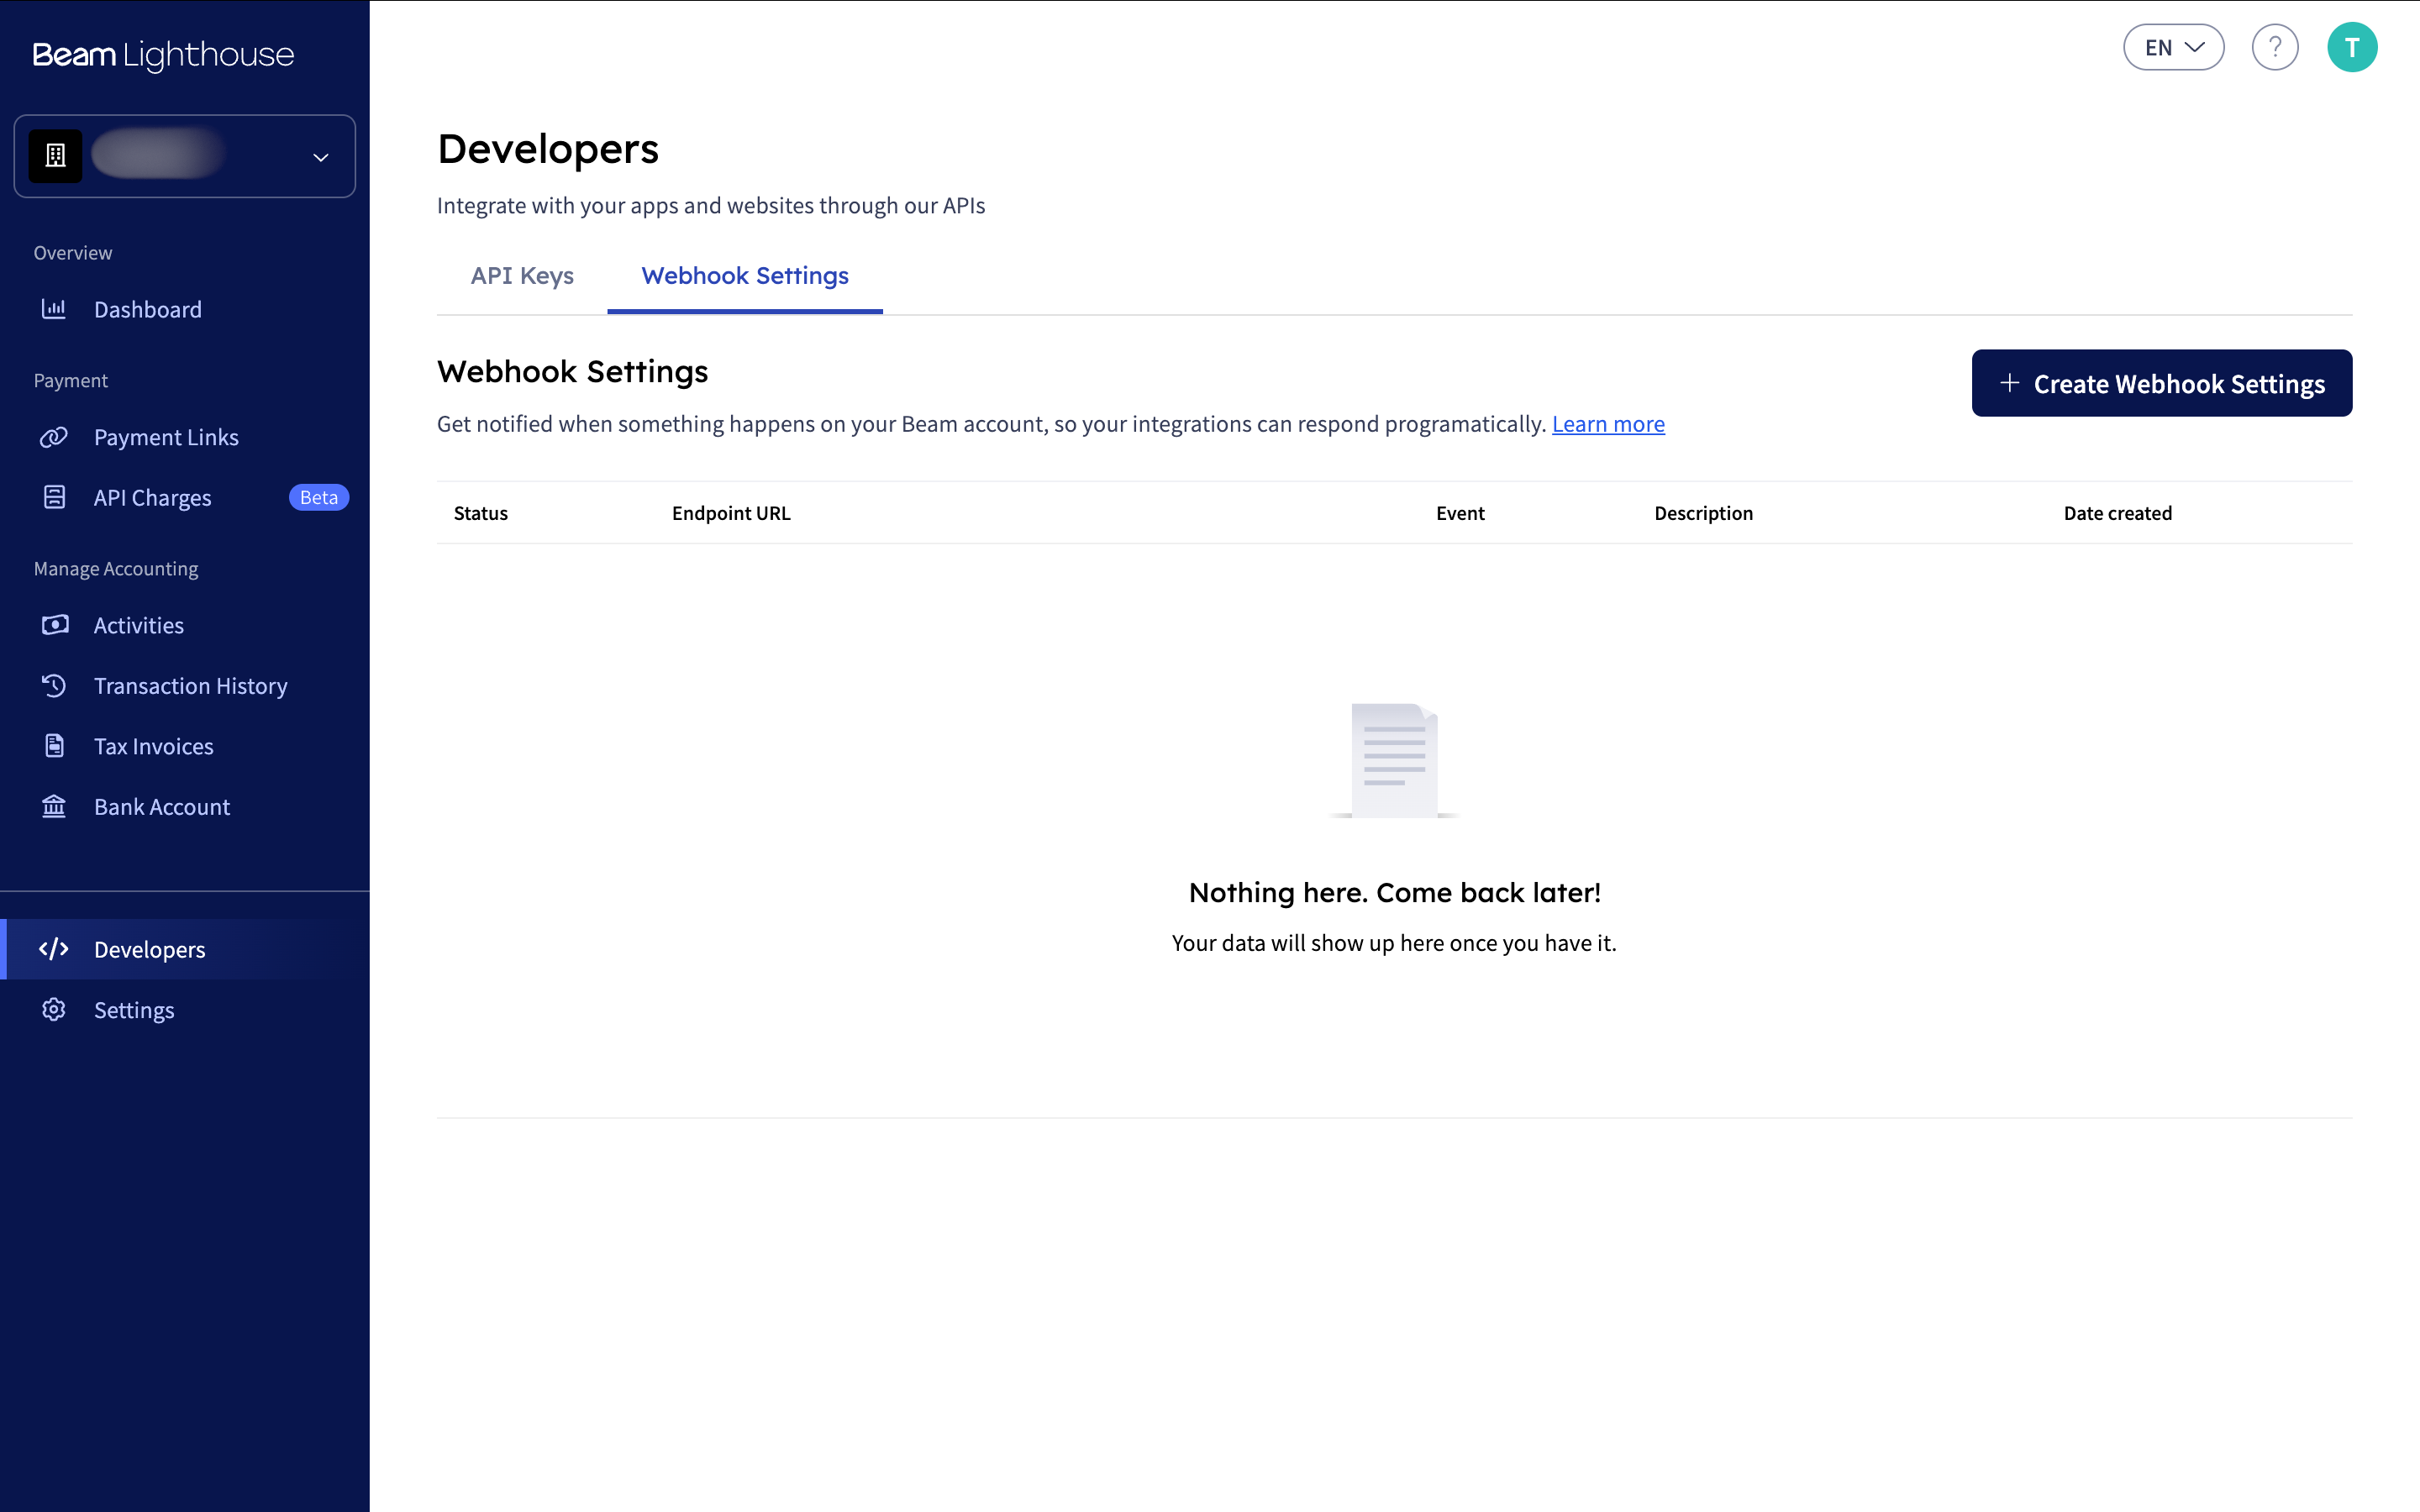
Next, you can configure your webhooks to receive events from Beam. Click on the Webhook Settings section.
-
Next, you can click on the Create Webhook button to create a new webhook. You can add the URL of your webhook endpoint and select the events you want to receive.
-
After creating the webhook, you can see additional details (such as the HMAC Key used for authentication) and make changes to it by clicking on the webhook settings you want to edit, this includes endpoints, additional headers, and events you want to receive.