Integration Guide
This page details how to integrate with the Beam Payment Links API, which allows you to create payment links that direct your shoppers to a Beam-hosted checkout page.
This page will take you through the steps to create a payment link, handle the payment process, and manage the payment link lifecycle. For this scenario, we will use a Postman collection provided in the Sample Postman Collection page to demonstrate the API calls.
Steps to integrate with Payment Links API
Pre-requisites:
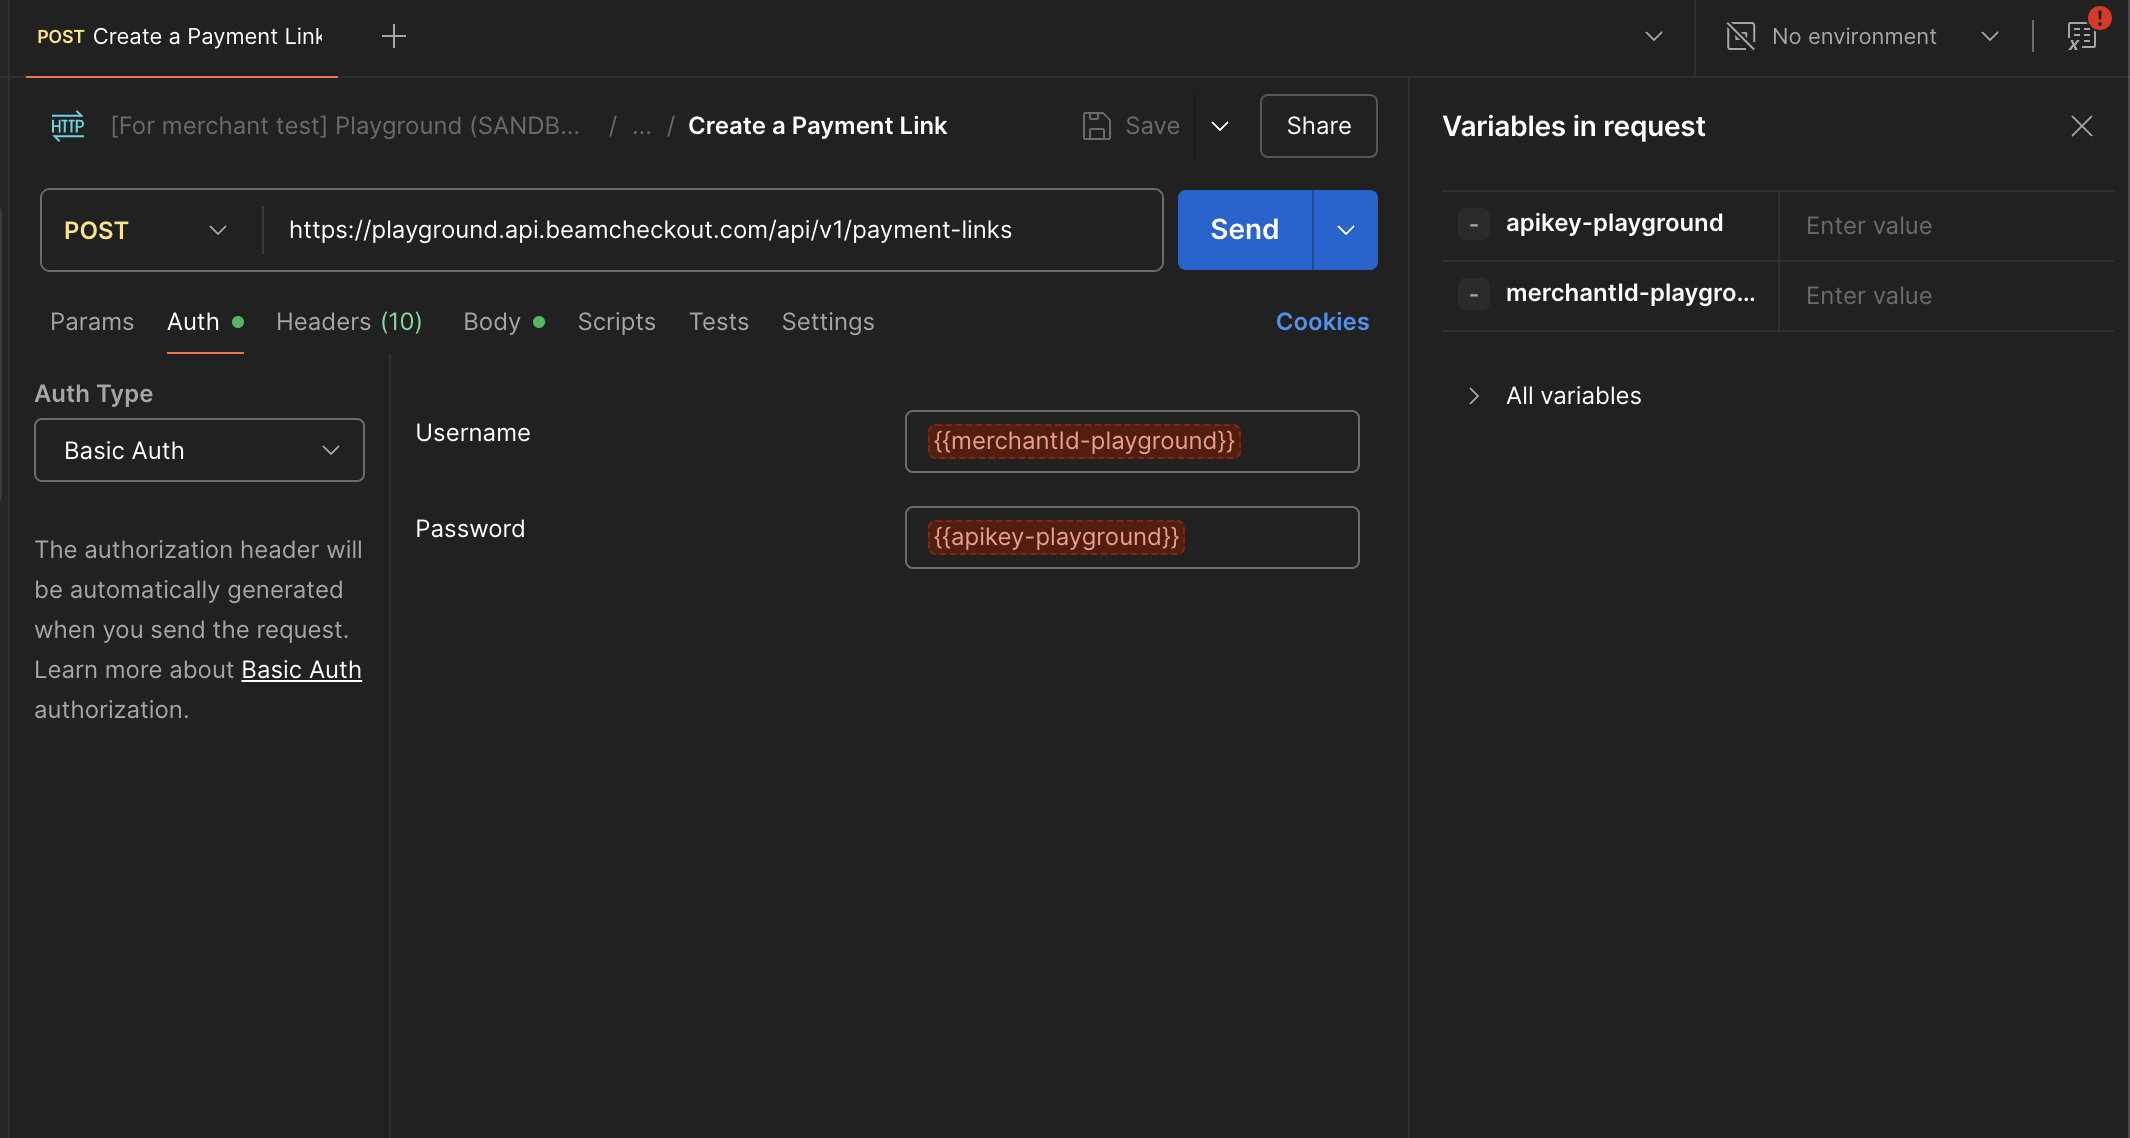
- Set up the environment variables in Postman for the Beam API, which includes Beam Playground's merchant ID and your API key.
- Create a Payment Link
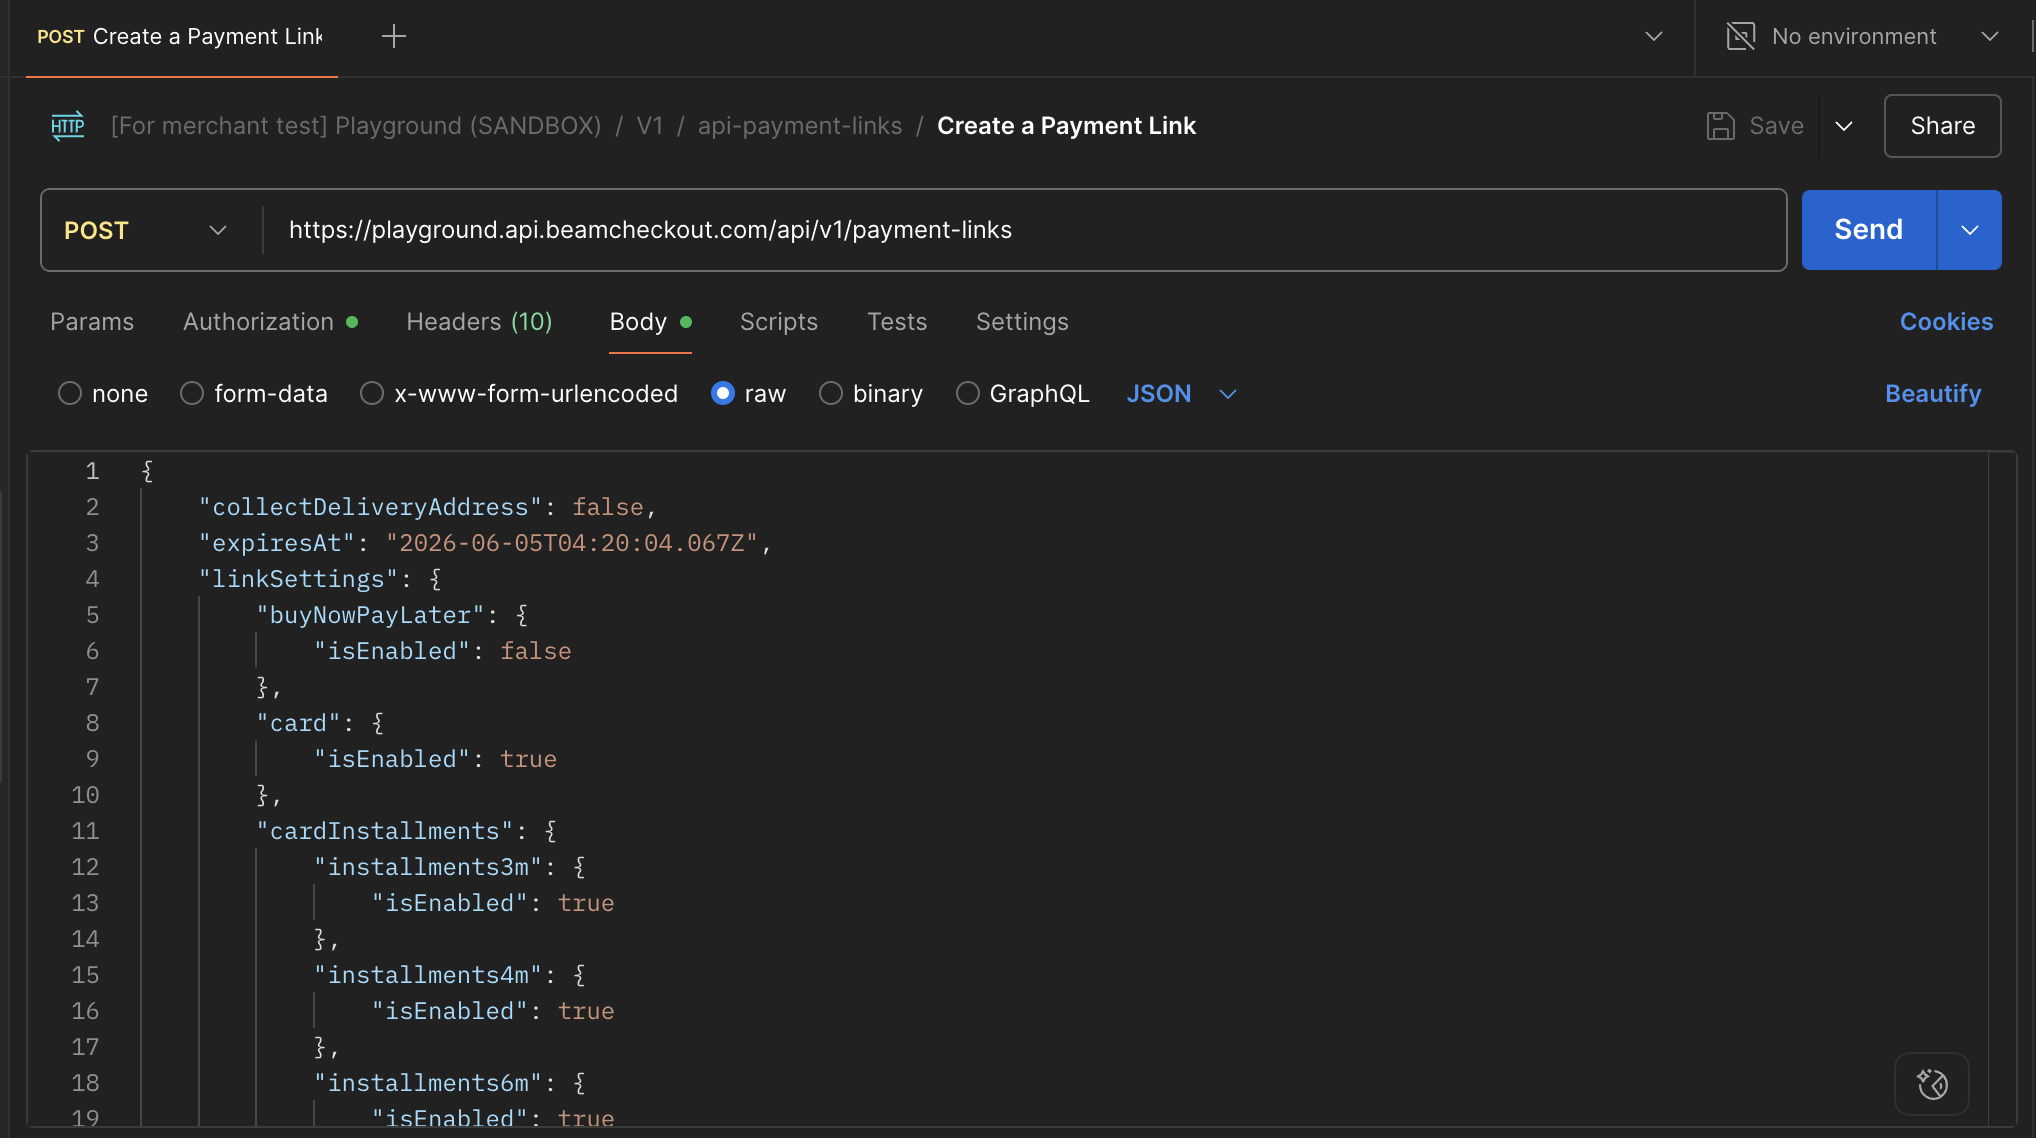
- When your store needs to accept payments from customers, you can send a request to create a payment link.To
create a payment
link, send a
POSTrequest to the/api/v1/payment-linksendpoint with the required parameters. Here is the sample provided request object for a payment link that accepts card payments, card installments, eWallets, mobile banking, and QR PromptPay:
{
  "collectDeliveryAddress": false,
  "expiresAt": "2026-06-05T04:20:04.067Z",
  "linkSettings": {
    "buyNowPayLater": {
      "isEnabled": false
    },
    "card": {
      "isEnabled": true
    },
    "cardInstallments": {
      "installments3m": {
        "isEnabled": true
      },
      "installments4m": {
        "isEnabled": true
      },
      "installments6m": {
        "isEnabled": true
      },
      "installments10m": {
        "isEnabled": true
      },
      "isEnabled": true
    },
    "eWallets": {
      "isEnabled": true
    },
    "mobileBanking": {
      "isEnabled": true
    },
    "qrPromptPay": {
      "isEnabled": true
    }
  },
  "order": {
    "currency": "THB",
    "description": "Pets Shop",
    "internalNote": "string",
    "netAmount": 100,
    "orderItems": [
      {
        "description": "Cat",
        "imageUrl": "https://encrypted-tbn3.gstatic.com/images?q=tbn:ANd9GcQhgTNCuDgVXM3besQcyklPg1UG_yct9CbGEiAqAlFu3SjHmjdWcJtjqpM8on3RGifxrsApvWGqisu49inxSZDFpQ",
        "itemName": "American shorthair",
        "price": 1000000,
        "productId": "automated_01",
        "quantity": 2,
        "sku": "S"
      },
      {
        "description": "Dog",
        "imageUrl": "https://cdn05.zipify.com/TArsw3DvFfNX8o-_adR4MItDEM8=/fit-in/1940x0/6d8d9a148fd542fba5faa74e9aeb5f60/2.jpeg",
        "itemName": "Chihuahua",
        "price": 1000000,
        "productId": "automated_02",
        "quantity": 1,
        "sku": "XS"
      }
    ],
    "referenceId": "order#10001"
  },
  "redirectUrl": "https://www.beamcheckout.com"
}
TIP
Example request object for other payment methods can be found in the Postman collection.
- If the request is successful, you will receive a response containing the payment link object, which includes the
idandurlof the payment link. The response should look like this:

- Redirect Shopper to Payment Link
- After creating the payment link, you can redirect the shopper to the
urlprovided in the response. This will take them to the Beam-hosted checkout page where they can complete the payment.
NOTE
We do not recommend rendering our payment link inside iframe as we attach
X-Frame-Options: DENYheader for security purposes. See more about the header.
- Track Payment Link Status
- You can track the status of the payment link by sending a
GETrequest to the/api/v1/payment-links/{paymentLinkId}endpoint wherepaymentLinkIdis theidfield you received in the response when creating the payment link.
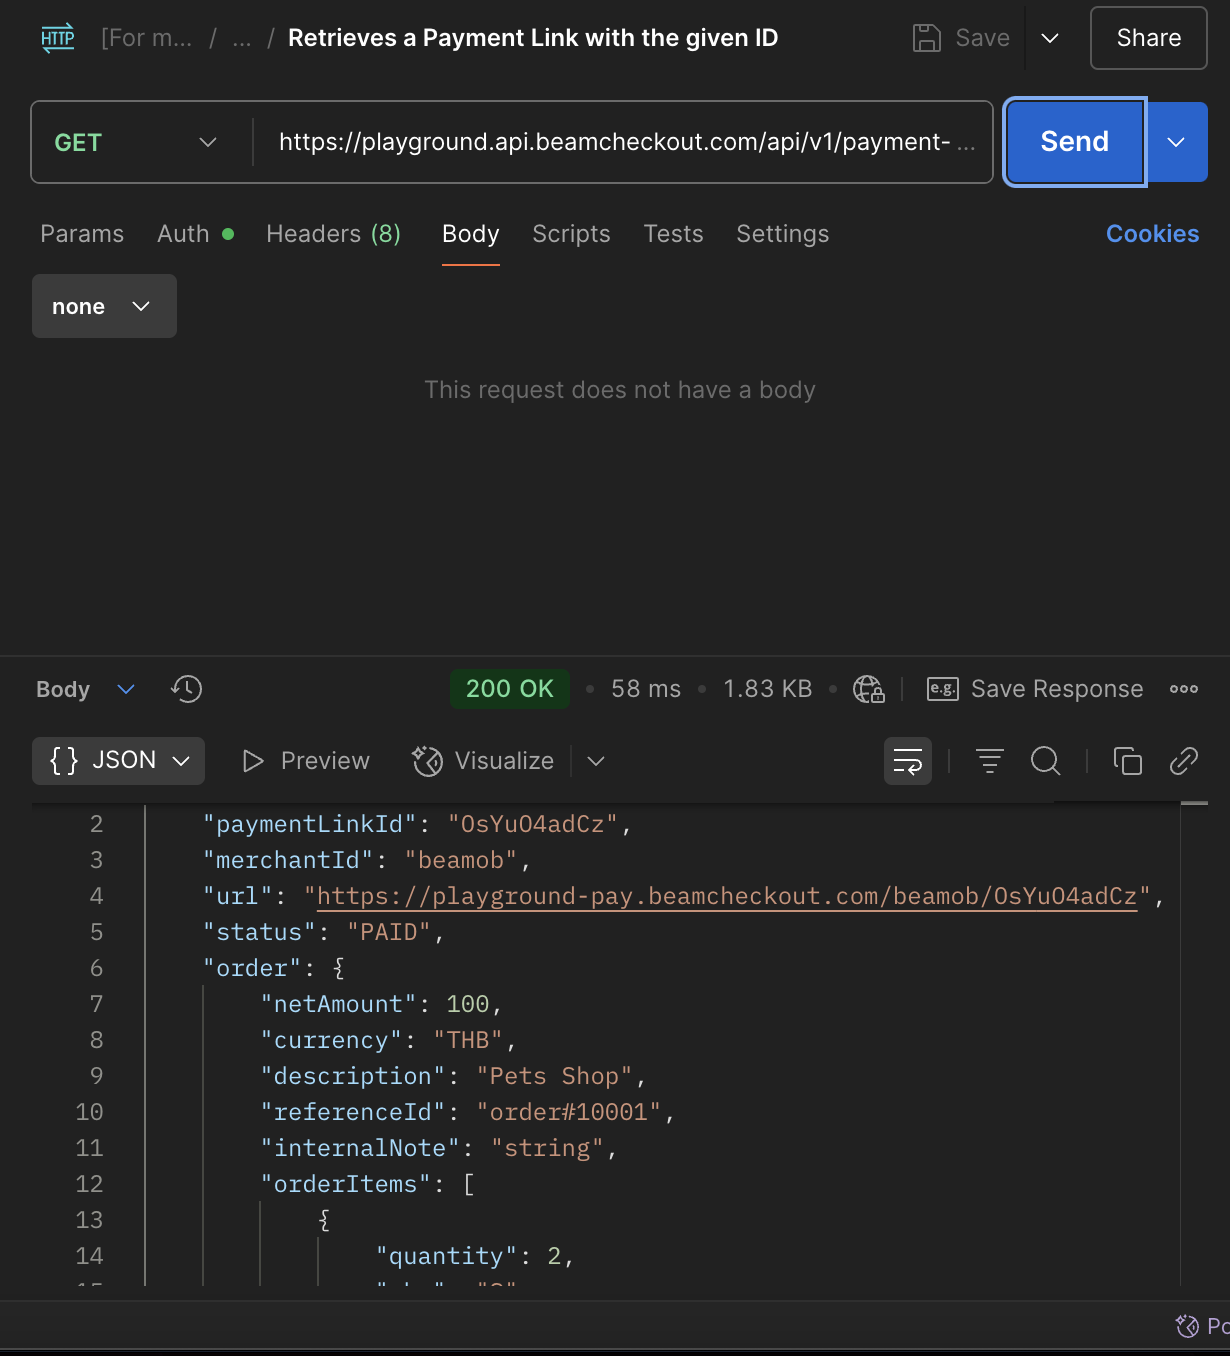
- The response will contain the current status of the payment link, which will look something like this:
{
  "paymentLinkId": "rGtqz6DafS",
  "merchantId": "merchantId",
  "url": "https://playground-pay.beamcheckout.com/merchantId/rGtqz6DafS",
  "status": "ACTIVE",
  "order": {
    "netAmount": 100,
    "currency": "THB",
    "description": "Pets Shop",
    "referenceId": "order#10001",
    "internalNote": "string",
    "orderItems": [
      {
        "quantity": 2,
        "sku": "S",
        "itemName": "American shorthair",
        "description": "Cat",
        "imageUrl": "https://encrypted-tbn3.gstatic.com/images?q=tbn:ANd9GcQhgTNCuDgVXM3besQcyklPg1UG_yct9CbGEiAqAlFu3SjHmjdWcJtjqpM8on3RGifxrsApvWGqisu49inxSZDFpQ",
        "price": 1000000,
        "productId": "automated_01"
      },
      {
        "quantity": 1,
        "sku": "XS",
        "itemName": "Chihuahua",
        "description": "Dog",
        "imageUrl": "https://cdn05.zipify.com/TArsw3DvFfNX8o-_adR4MItDEM8=/fit-in/1940x0/6d8d9a148fd542fba5faa74e9aeb5f60/2.jpeg",
        "price": 1000000,
        "productId": "automated_02"
      }
    ]
  },
  "linkSettings": {
    "card": {
      "isEnabled": true
    },
    "cardInstallments": {
      "isEnabled": true,
      "installments3m": {
        "isEnabled": true
      },
      "installments4m": {
        "isEnabled": true
      },
      "installments6m": {
        "isEnabled": true
      },
      "installments10m": {
        "isEnabled": true
      }
    },
    "qrPromptPay": {
      "isEnabled": true
    },
    "eWallets": {
      "isEnabled": true
    },
    "mobileBanking": {
      "isEnabled": true
    },
    "buyNowPayLater": {
      "isEnabled": false
    }
  },
  "collectDeliveryAddress": false,
  "redirectUrl": "https://www.beamcheckout.com",
  "expiresAt": "2026-06-05T11:20:04.067+07:00",
  "feeType": "TRANSACTION_FEE"
}
- Handle Payment Completion
- Once the shopper completes the payment, if the payment link is set up with a
redirectUrl, the shopper will be redirected to that URL. Once the payment link is paid, the status will change toPAIDand (if configured) apayment_link.paidwebhook will be sent to your webhook endpoint. The schema for the webhook payload should be the same as the response from the previous step when you queried the/api/v1/payment-links/{paymentLinkId}endpoint.